Greyhound Derby Trap Draw Statistics and Analysis
Numbers That Carry a Legacy
Every trap number carries a statistical legacy. The data doesn’t lie, but it needs context. In greyhound racing, the trap draw is one of the few variables that’s both quantifiable and consistent across races — every meeting uses the same six traps, the same six colours, the same spatial relationship between starting positions and the first bend. Unlike form figures or trainer records, which require interpretation, trap data is binary. A dog was drawn in trap 3 or it wasn’t. Trap 4 won or it didn’t. That clarity makes trap draw statistics one of the most accessible analytical tools available to Derby bettors, and one of the most misused.
The misuse typically runs in one direction: overweighting historical trap data without adjusting for track, era, or sample size. Trap statistics from Wimbledon, where the Derby was held until 2016, tell you very little about Towcester, where the competition has been staged since 2017 (with a brief interlude at Nottingham in 2019-2020). The track dimensions, bend radii, sand composition, and hare rail positioning are all different. A trap that dominated at one venue may be neutral or disadvantaged at another. Treating all historical Derby trap data as a single dataset is like combining Premier League and Championship statistics and calling it a trend.
What trap data can do, used carefully, is reveal structural biases in a specific track’s layout. Every greyhound stadium has physical characteristics that create slight advantages or disadvantages for certain starting positions. At Towcester, the run to the first bend, the width of the track, and the positioning of the inside rail all contribute to a pattern that, over enough races, shows up in the numbers. The challenge for Derby bettors is separating that structural signal from the noise of individual race results.
Put trap stats into your racecard reading in read racecard.
Trap-by-Trap Data at Towcester and Beyond
At Towcester, the 500-metre Derby distance involves four bends on an oval track with a circumference of approximately 420 metres. The traps are positioned on a straight section, with a run of roughly 80 metres to the first bend. That run-up distance is long enough for most dogs to find their stride, which theoretically reduces the advantage of inside traps compared to tighter tracks where the first bend comes sooner.
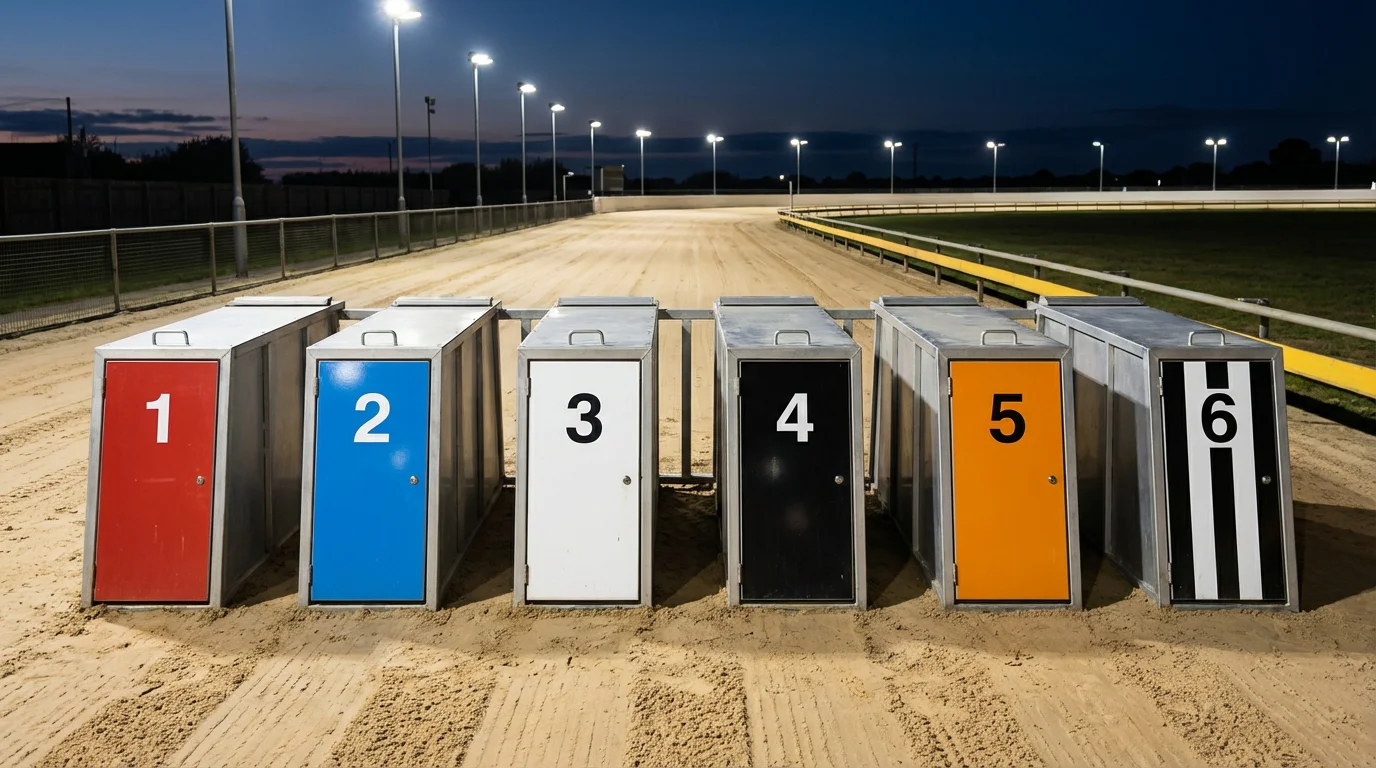
Looking at overall race data from Towcester across all competitions — not just the Derby — trap performance shows a modest but persistent pattern. Trap 1 (red jacket) tends to underperform relative to its theoretical share of wins. The inside position should offer the shortest path to the first bend, but dogs drawn on the rail at Towcester have historically shown a slightly lower win rate than the statistical average of roughly 16.7% (one in six). The most common explanation is that the hare rail positioning and the angle of the first bend slightly disadvantage the inside runner, particularly if it’s a dog that doesn’t show immediate early pace.
Traps 2 and 3 have generally produced the most consistent results at the track. Middle-draw positions benefit from the ability to move either to the rail or away from it at the first bend, depending on how the race develops. A fast-starting dog in trap 2 can take the rail position naturally, while a trap 3 runner can hold its line through the bend without being squeezed. The data from multiple seasons of Towcester racing supports a slight middle-trap advantage, though the margins are narrow — typically a few percentage points above the expected 16.7% strike rate.
Trap 4 sits in a transitional zone. It’s neither a pure inside nor a pure outside draw, and its performance tends to be close to the statistical average. Dogs drawn in trap 4 need to be versatile — able to go either way at the first bend — and the trap’s win rate often depends more on the individual dog’s running style than on any inherent positional advantage.
Traps 5 and 6 are the wide draws, and they carry the most interesting statistical footnote in recent Derby history. Trap 5 (orange jacket) has not produced a Derby final winner since Kinda Ready in 2009 — a drought spanning well over a decade. Whether this is a genuine structural disadvantage at Towcester or a statistical anomaly driven by small sample sizes is debatable, but the pattern is notable enough that it affects the market. Dogs drawn in trap 5 in the Derby final tend to drift slightly in price compared to where they’d be priced from other traps, creating potential value for punters who believe the drought is coincidental rather than causal.
Trap 6 (striped jacket) sits on the outside, which at Towcester means the widest route to the first bend. The overall win rate for trap 6 at the track is slightly below average, but fast-starting wide runners can use the outside to avoid traffic at the first bend entirely. In open-class racing — the grade level most comparable to Derby heats — trap 6 has produced some emphatic winners who used the space to settle into their stride before making ground on the bends.
For historical context, during the Wimbledon era (1985-2016), trap 6 was one of the most successful Derby final positions. Wimbledon’s wider track and different bend geometry gave outside runners more room to operate. That advantage does not directly transfer to Towcester, but it’s worth remembering when reading older Derby statistics that include both venues.
| Trap | Colour | General Towcester Trend | Derby Final Note |
|---|---|---|---|
| 1 | Red | Slightly below average | Historically disadvantaged by crowd noise theory; less relevant at modern venues |
| 2 | Blue | Above average | Consistent performer across rounds |
| 3 | White | Above average | Favoured position for versatile runners |
| 4 | Black | Average | Performance depends on individual running style |
| 5 | Orange | Slightly below average | No Derby final winner since 2009 |
| 6 | Striped | Below average | Fast wide runners can overcome the positional disadvantage |
How to Factor Draw into Your Selections
The pragmatic approach to trap draw in Derby betting is to treat it as one factor among several — significant enough to adjust your assessment, but never significant enough to be the sole basis for a selection or a dismissal. A dog with outstanding form, a proven running style, and a top trainer shouldn’t be abandoned because it drew trap 5. Similarly, a moderate dog with mediocre form shouldn’t be backed just because it drew trap 2.
The most productive use of trap data is in marginal decisions. When two dogs are closely matched on form, running style, and fitness, the trap draw can be the tiebreaker. A front-runner drawn in trap 1 or 2 has a structural advantage over a front-runner drawn in trap 5 or 6, because the inside traps offer a shorter, more direct route to the first bend for early-pace dogs. Conversely, a closer who prefers to race wide is better served by an outside draw that keeps it clear of traffic in the early stages.
Trap draw also interacts with opposition. In a Derby heat, knowing which dogs are drawn next to each other matters as much as the trap number itself. Two early-pace dogs drawn side by side (say traps 2 and 3) will often crowd each other at the first bend, compromising both and potentially benefiting a more patient runner drawn wider. Reading the interaction between draw and running style across the whole six-dog field is more valuable than simply checking whether trap 3 has a good historical record.
For ante-post bettors, the trap draw adds a layer of uncertainty that’s worth pricing in. Before the round draws are announced, you don’t know which trap your selection will get. If you’ve backed a dog whose form depends heavily on a favourable inside draw, an outside trap in a key round could undermine the entire position. Dogs with flexible running styles — capable of winning from any draw — carry less draw-related risk in the ante-post market and arguably deserve a slight premium in your assessment.
In the later rounds, draw becomes progressively more important because the field quality has equalised. In the first round, the best dog in a heat can often overcome an unfavourable draw through sheer superiority. By the semi-final, every surviving dog is high-class, margins are razor-thin, and the trap draw can genuinely determine which six go through to the final. This is where draw analysis earns its keep — not as a standalone strategy, but as the marginal factor that separates the qualified from the eliminated.
Draw Informs, It Doesn’t Dictate
The Derby has produced enough surprises from unfashionable traps to prove that no position is an automatic death sentence. Thorn Falcon won the 2021 final from trap 6. Multiple winners have overcome supposedly poor draws through raw pace, tactical intelligence, or simply being the best dog in the race. The statistics point to patterns. They do not point to certainties.
The wise approach is to integrate draw data into a broader assessment: form, running style, trainer, fitness, opposition, track conditions. Draw is the seasoning, not the meal. Punters who dismiss dogs purely on trap number miss value. Punters who back dogs purely on trap number waste money. The edge, as always in Derby betting, lies somewhere in the middle — where the data is acknowledged, weighted appropriately, and combined with everything else you know about the six dogs loading into the traps.
Next time you see a market move after the draw is announced, ask yourself whether the shift reflects genuine track bias or the market’s habitual overreaction to a single variable. More often than not, it’s the latter. And in that gap between perception and reality, there’s usually a bet worth making.
Analyse trap draw stats on the greyhoundderbybetting homepage.